Electronics assembly uses UV-curable adhesives, sealants and coatings wherever a joint has to be fixed in seconds without heating the part. A dispensed adhesive stays liquid until it is irradiated, so parts can be positioned and aligned first, then fixed in place at the press of a button or on a PLC signal.
What is cured
- Camera modules: bonding lenses and holders to the image sensor board, often with active alignment before the UV tack.
- Acoustic components: speakers, receivers, microphones and buzzers, where membranes, coils and housings are bonded and sealed.
- Coils, wires and motors: tacking coil ends and wires, fixing windings in micro-motors and bonding PTC and NTC components.
- Board-level reinforcement: corner bonding and staking of large components, connectors and cables so they survive vibration and drop tests.
- Encapsulation and sealing: glob tops over small dies, sealing of connectors and housings, and potting of sensors.
- Conformal coating: thin protective coatings on assembled boards, cured in a conveyor or under an area source.
- Displays and touch panels: bonding cover glass, frames and flexible circuits.
- Hard disk drives and sensors: fixing wires, bearings and coils, and assembling gas, photoelectric and fibre optic sensors and encoders.
Why UV LED suits electronics
Low thermal load. UV LEDs emit a narrow band of UV light and no infrared, so far less radiant heat reaches the part than with a mercury lamp. Plastic housings, membranes and components near their temperature limit stay within specification.
Cure on demand. LEDs switch on and off instantly, without warm-up or shutters. Exposure starts on a PLC signal and lasts exactly as long as programmed, which suits short, automated cycle times.
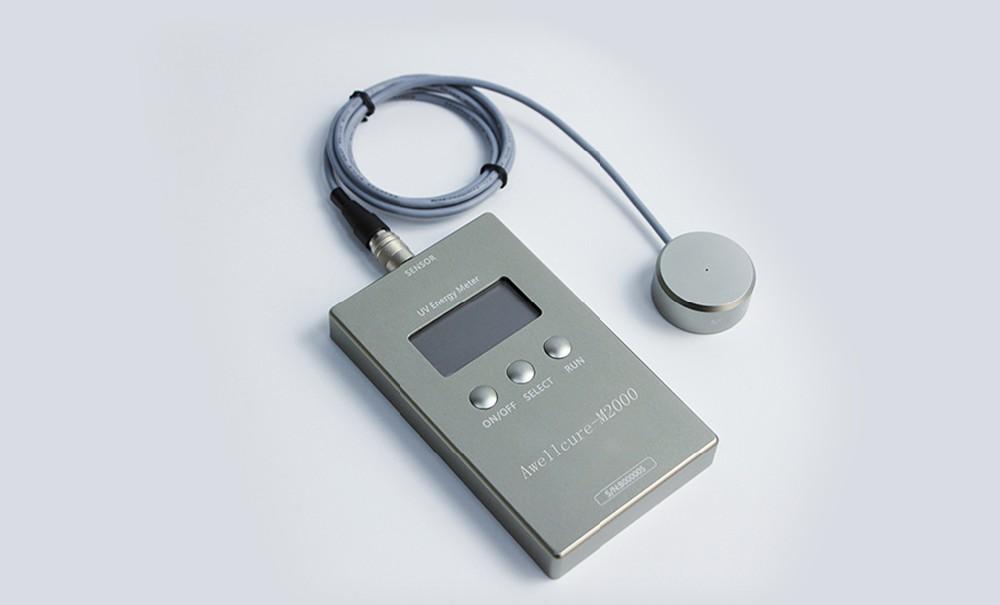
Repeatable dose. Irradiance and exposure time are set per channel, and LED output degrades far more slowly than a mercury lamp's, so every part receives the same dose. A radiometer confirms the irradiance at the part and documents it for quality records.
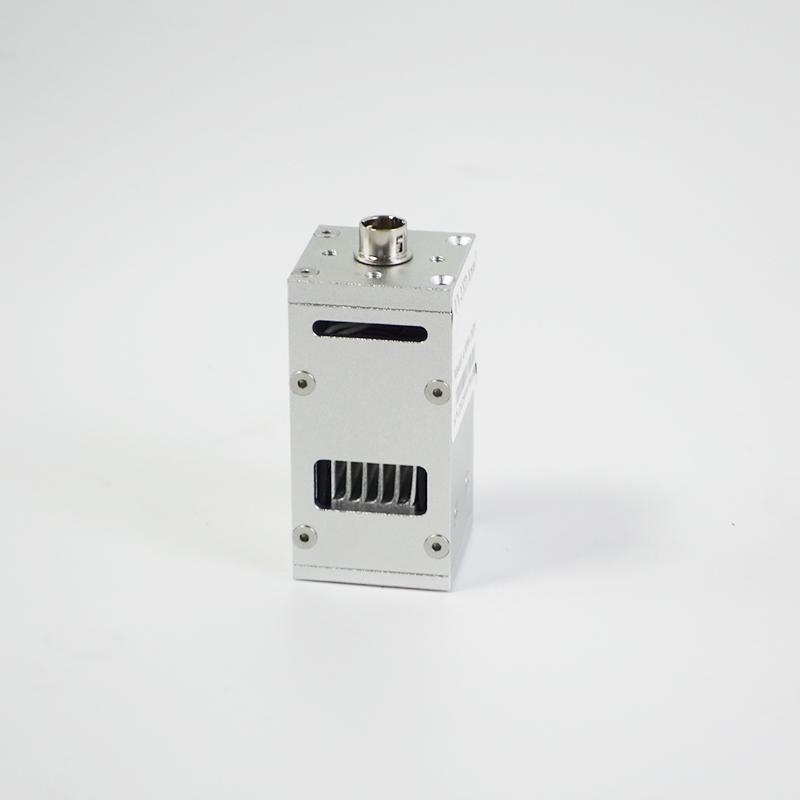
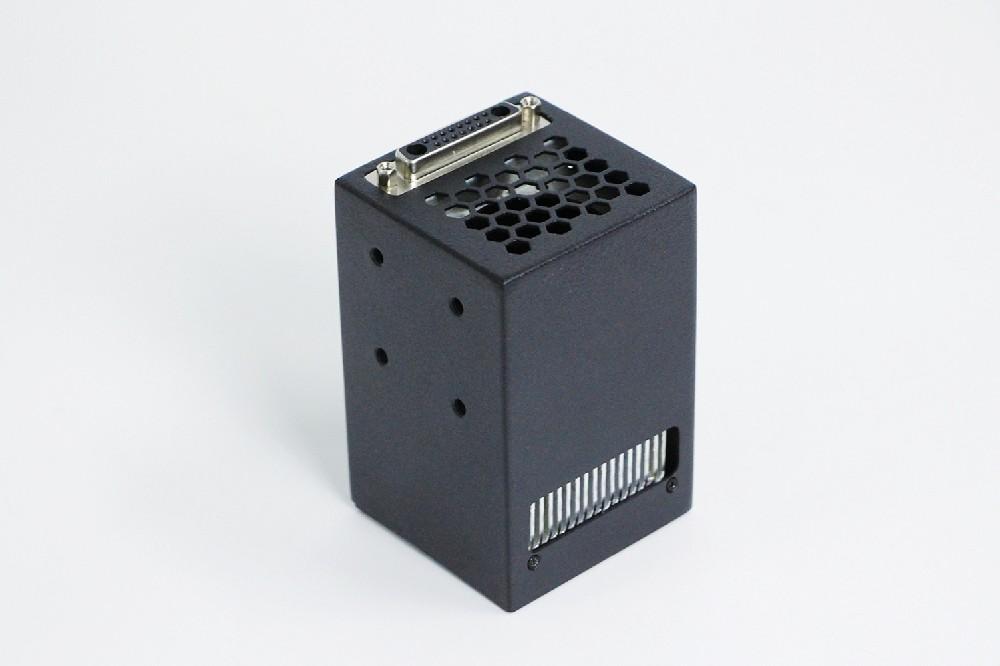
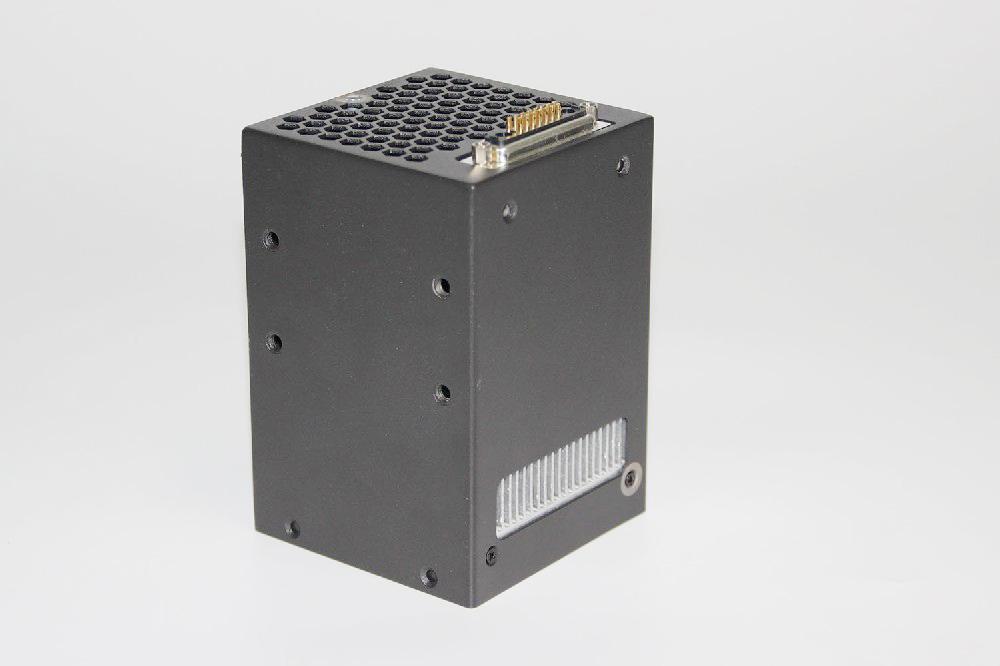
A compact footprint. Spot heads and small area sources fit into assembly cells, dispensing robots and test fixtures where a lamp housing would not.
Choosing a system
Start from the joint, not the lamp:
- Geometry. A few dispensed dots or beads per part call for spot curing. A row of joints along an edge suits a small linear source. Whole boards, trays or coated areas suit an area source, a conveyor or an oven. See the Technology Guides for how the techniques compare.
- Wavelength. Use the wavelength your adhesive or coating is formulated for. Many electronics adhesives cure at 365 nm; 385, 395 and 405 nm sources are an option for LED-optimised chemistry or for curing through plastics that absorb shorter wavelengths.
- Irradiance and dose. Take the required dose (mJ/cm²) and minimum irradiance (mW/cm²) from the adhesive data sheet, then choose a source and working distance that reach them within your cycle time.
- Shadowed areas. UV only cures where light reaches. Under components or in opaque housings, use a dual-cure adhesive with a secondary moisture or thermal cure.
- Integration. Check the I/O, RS232 and alarm signals you need for the line, the number of curing points per controller and the cable length to the heads.
Recommended systems
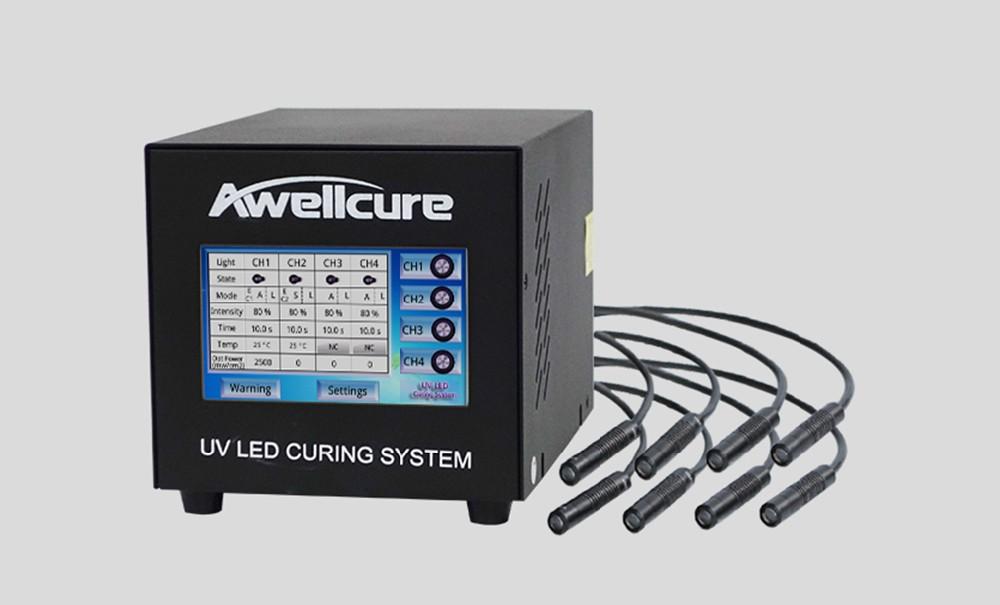
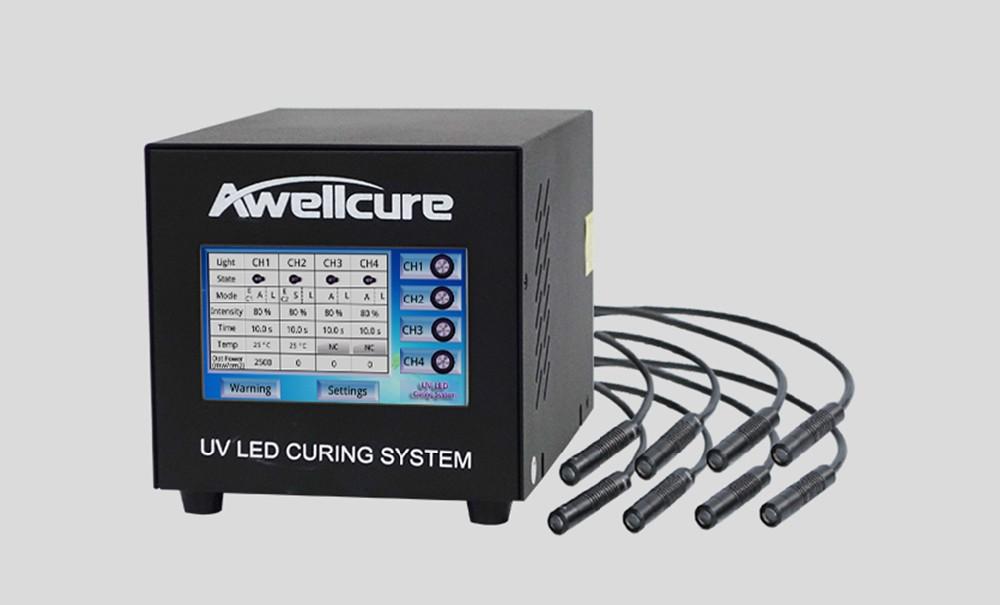
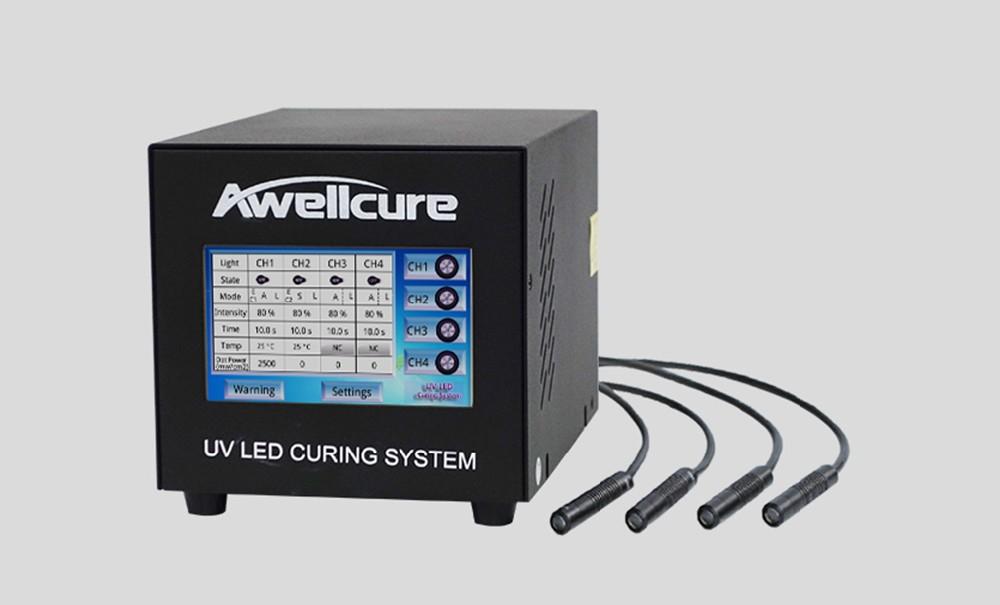
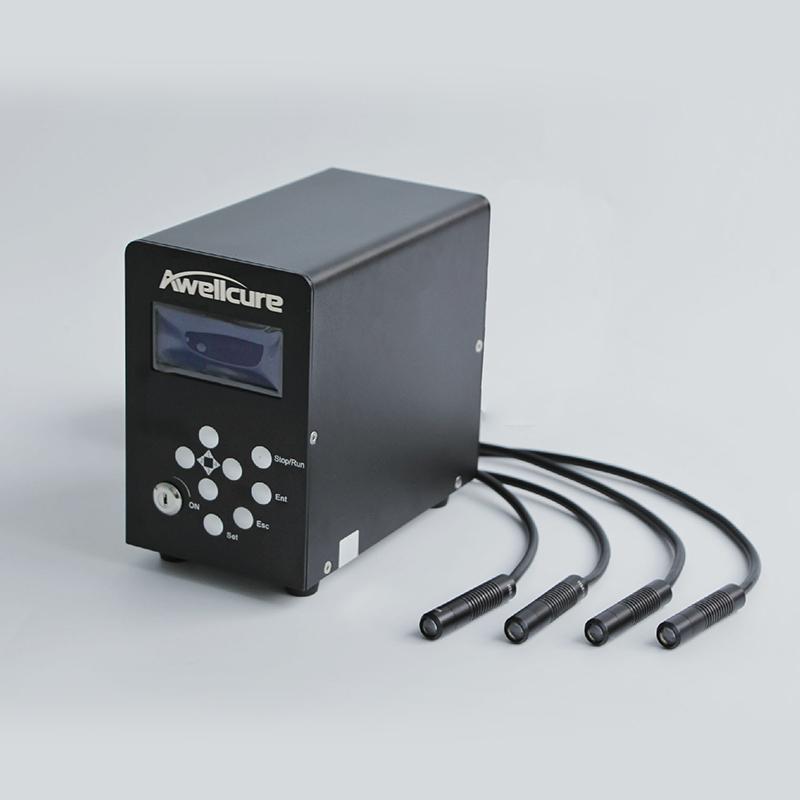
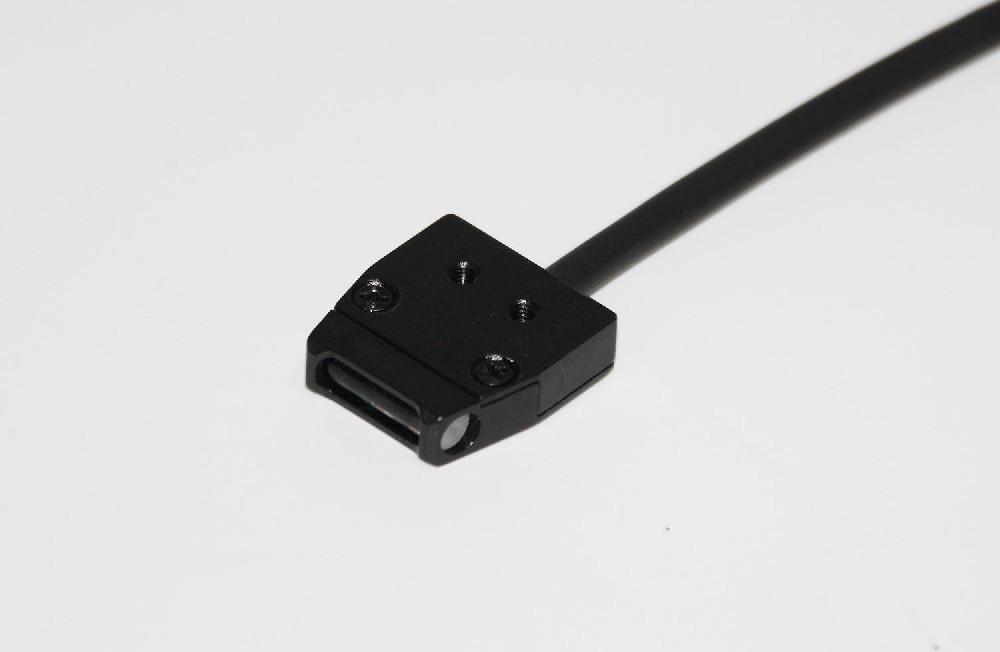
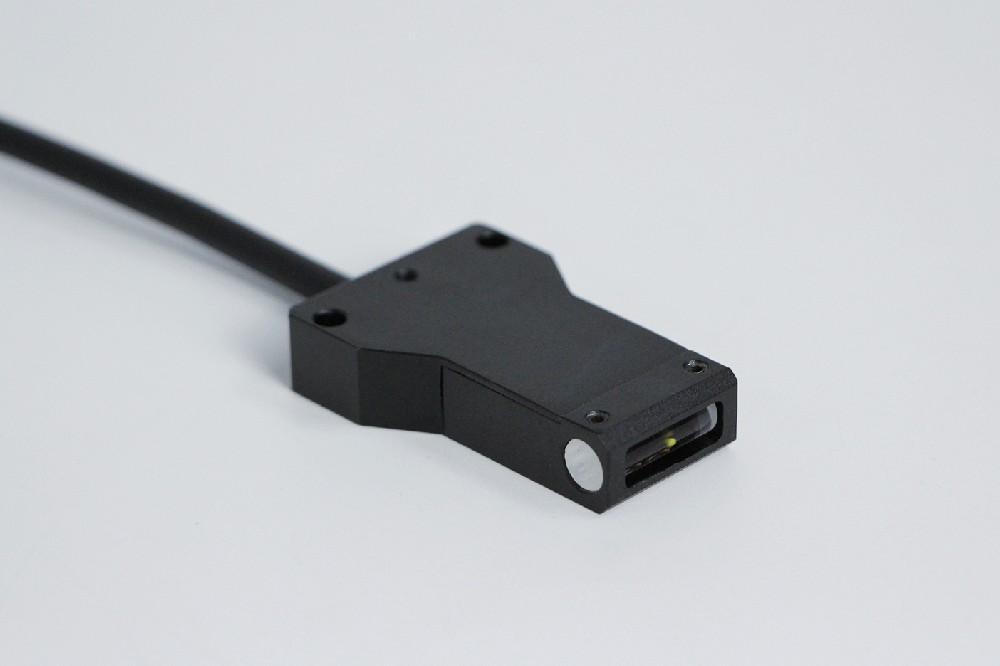
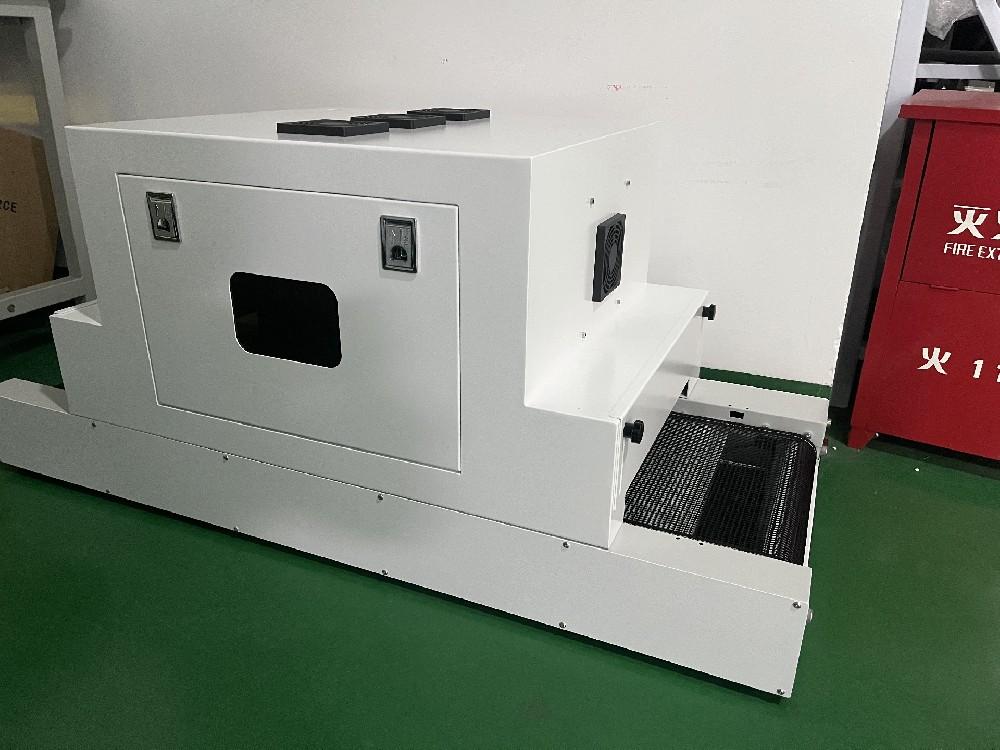
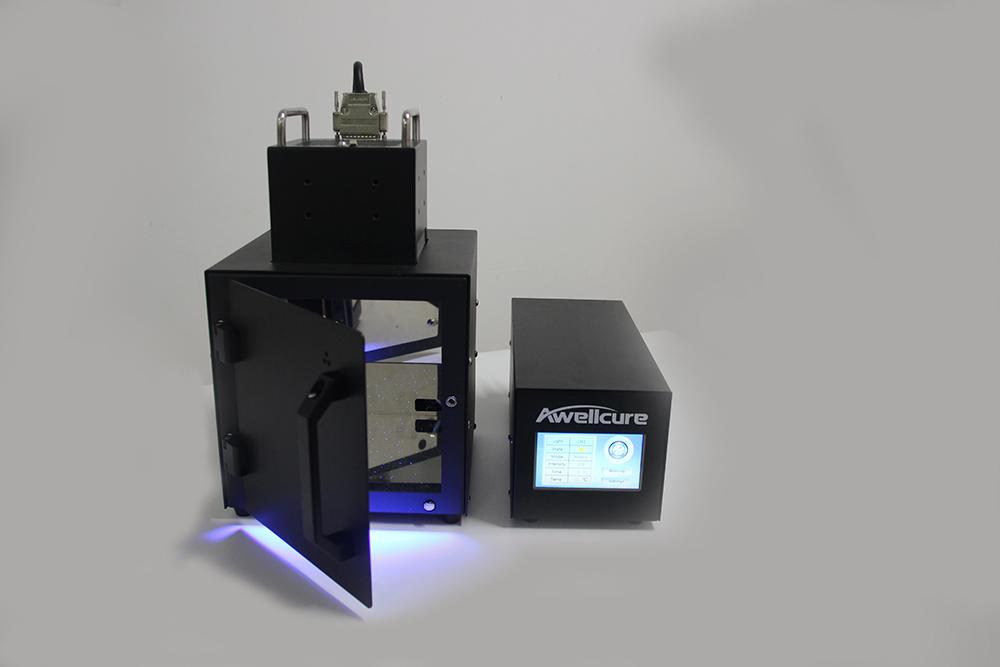
For dispensed joints, the UV LED Spot systems drive four or eight heads from one controller, with up to 18,000 mW/cm² through a 2 mm lens. The compact linear light sources of 10 × 3 mm and 15 × 5 mm cure narrow bond lines and edges. For larger areas and batches, choose from the UV LED Area sources, the UV Conveyor systems or a UV Curing Oven, and verify the process with a UV Radiometer.